
Updated October 2026
Chunks of red cabbage, garlic, dill and chili turn a bright, tangy pink in a simple salt brine. No massaging, no special gear, just a jar and about a week until your sauerkraut is crunchy and ready.
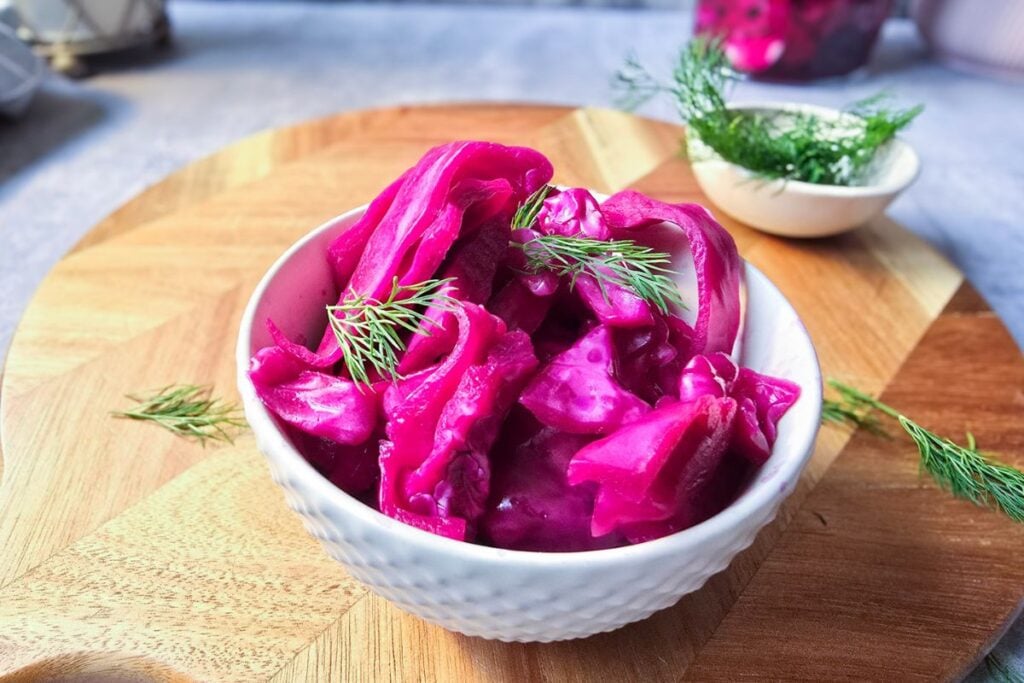
What you’ll love about this recipe
I grew up with traditional sauerkraut made in huge vats from whole heads of cabbages at the cross roads between fall and late fall. Oh, yeah, there is such thing; you can smell in the air the cold fresh snap of late fall, slightly humid, slightly earthy. I remember with a tad of fondness, but mostly with dread, the early rise to queue up alongside hundreds of people in the market, waiting for the cabbage deliveries.
Sauerkraut making was national business in Romania in the late 80’s. Who knew back then how good was sauerkraut for our gut and well-being?
My pink sauerkraut was born out of wanting all that flavor without the huge vats of smelly cabbage in my shed in England. But also because at heart I am just a girl that loves pink 💗 so pink foods bring me joy.
- Seriously pink: That bright pink comes from the red cabbage alone, no beets or food coloring.
- Gut-Friendly Goodness: You already know how serious I am about gut health, the microbiome needs feeding and this sauerkraut is packed with probiotics.
- Packed with Good Stuff: Vitamins and antioxidants to keep you feeling awesome. You can control the ingredients and make sure those bacteria are still live when they reach your gut.
- Bright and tangy: A forkful adds crunch and sourness to rich food, so a little goes a long way.
- Versatile meals: You can get very creative with this pink sauerkraut! Toss it in salads, finely dice and mix in a yogurt and mayo dressing or scatter on tacos. Serve it next to brunch or breakfast omelettes.
- Long Shelf Life: Once you’ve made a batch of pink sauerkraut, it can last in your fridge for several months.
- Small batches & no special pickling gear: You don’t need fancy utensils for my pink sauerkraut recipe, a jar with a lid is all you need. And if you have a fermentation weight it helps to keep things submerged.
Watch how to make pink sauerkraut

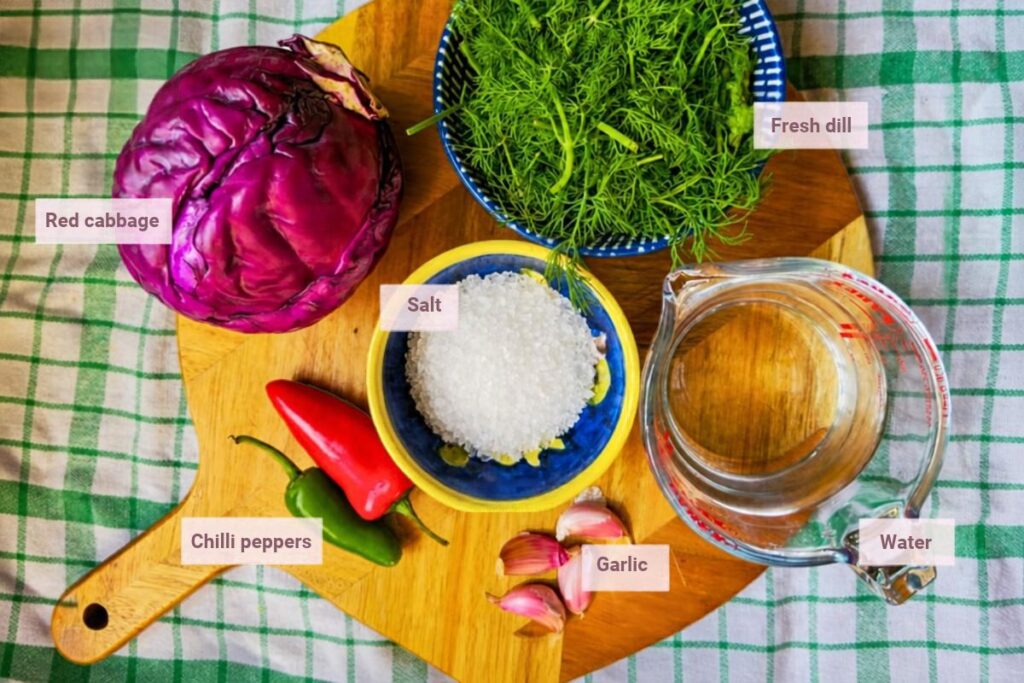
Ingredients you’ll need
- Red or purple cabbage – a medium to large one will do, you will probably have some leftovers.
- Garlic – as many as you want really, 3-5 large cloves will release plenty of garlicky aromas.
- Dill – I think dill always evokes pickles and traditional flavors for me. If you don’t like dill, leave it out, but it makes me sad when people don’t like dill… Just joking 😜!
- Chili (optional) – a few slices, seeds removed.
- Water and salt (the secret to natural lacto-fermentation) – the simplest brine ever that helps the good bacteria grow and ferment your veggies. And the salt keeps the bad bacteria from growing, protects the vitamins in the veg and keeps your veggies crunchy! See the recipe card notes for salt tips.
How to make the easiest pink sauerkraut
Time needed: 7 days
How to make pink sauerkraut with chunks of red cabbage, garlic, dill and chili lacto-fermented in a simple salt brine for about a week.
- Clean & Chop
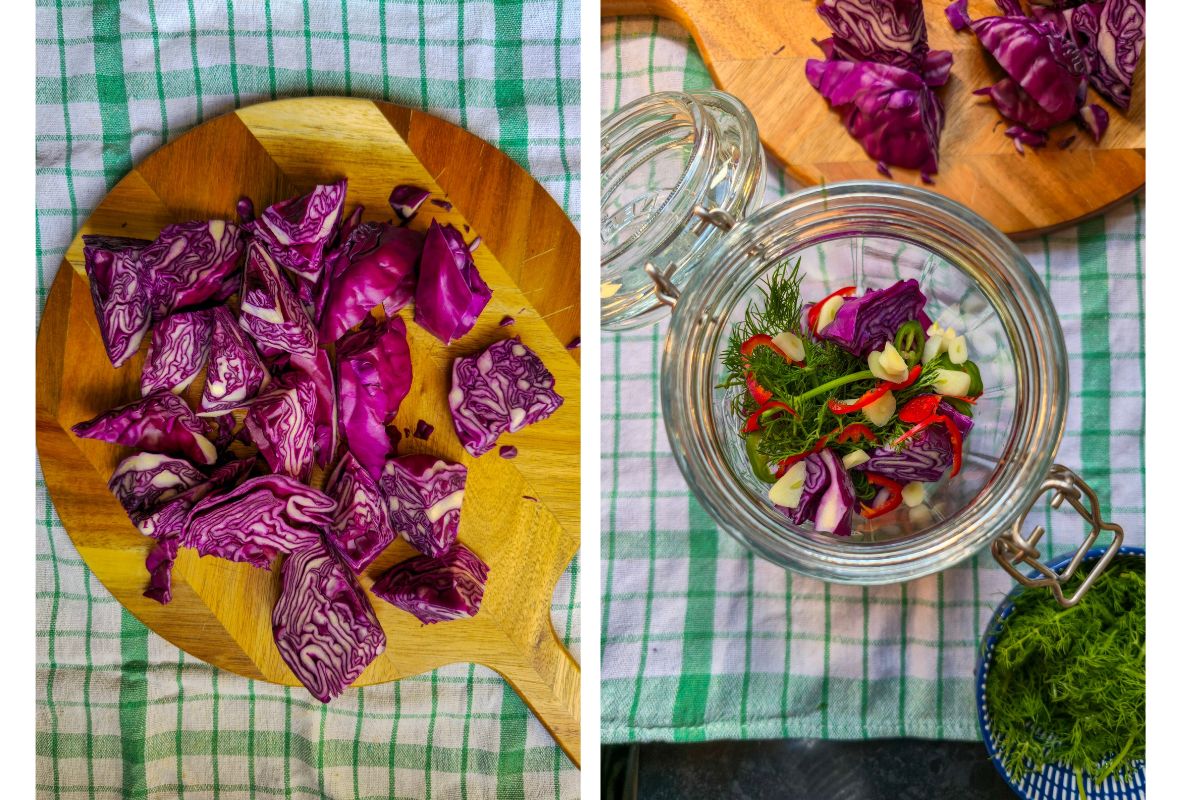
Remove any wilted, dry or bruised outer leaves from the cabbage. Cut the red cabbage head in half, then quarters and remove the hard core.
Slice each quarter in chunks of roughly 3 cm thickness. - Prepare the garlic, chili and herbs
Peel the garlic, slice it and set aside.
Remove the seeds from your chili, slice as many or as few as you want.
Remove any wilted dill strands. Give the dill a good rinse in cold water, shaking any excess water.
- Stuff the jar
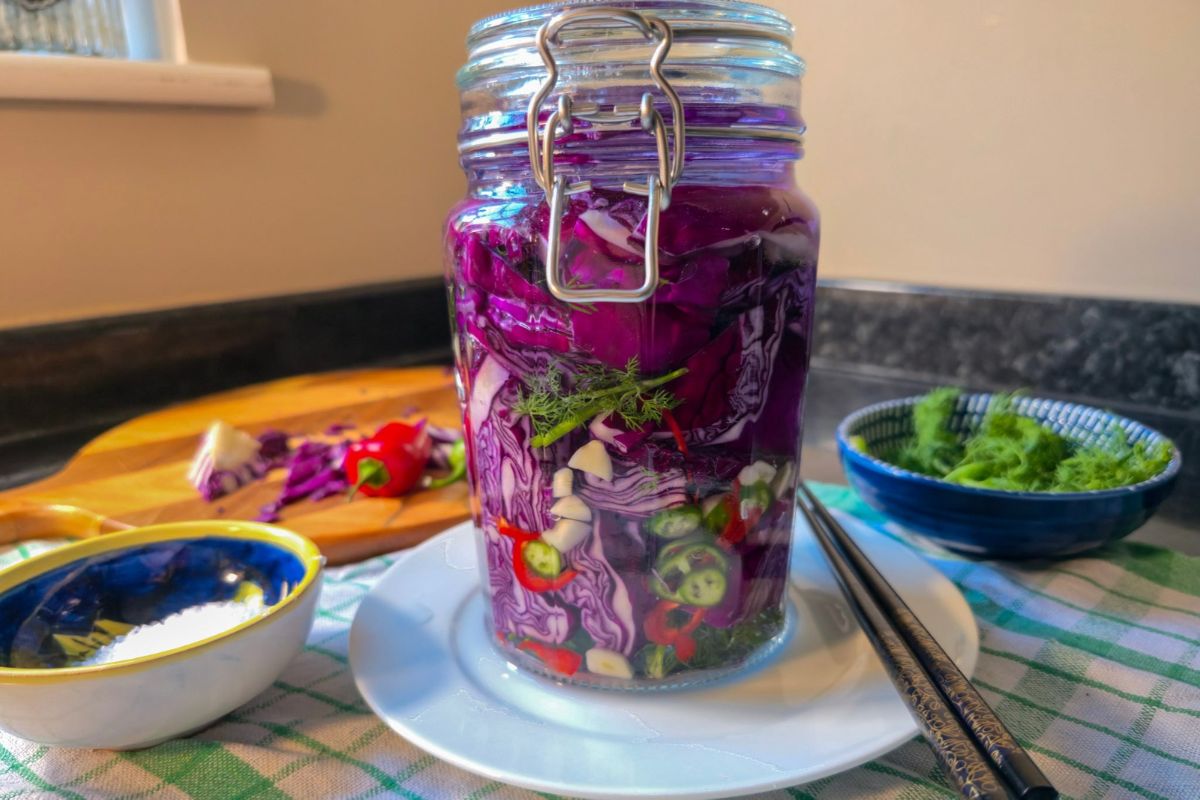
In a jar (approximately 1 liter capacity) add some dill, a few garlic cloves, then start stuffing with chunks of red cabbage.
Don’t force them too much, but pack them tight.
Add more herbs, garlic and a few chili slices.
Finish with a few red cabbage pieces that you can wedge in the jar neck, so that it pushes everything down. - Prepare the brine
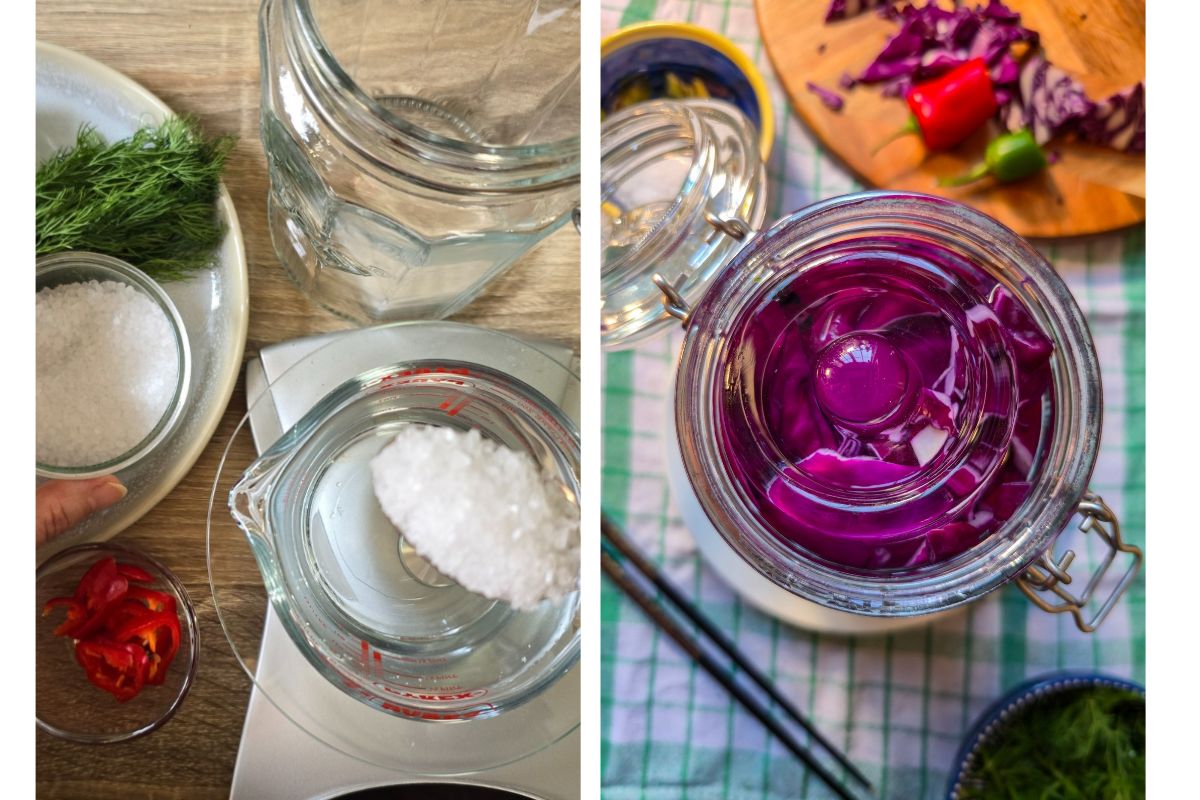
Make a brine by adding 25 g salt in 1 liter of water. Depends on how many jars you are filling, you might need to make more brine.
- Pour the brine and let the fermentation begin!
Add the brine over the vegetables until everything is fully covered. If you use a fermentation weight you can place it on top and press down gently to keep everything under.
Cover loosely with a lid and set on the counter at room temperature, but not too close to any heat sources and away from sunny spots. - Burp the pink sauerkraut 🫧
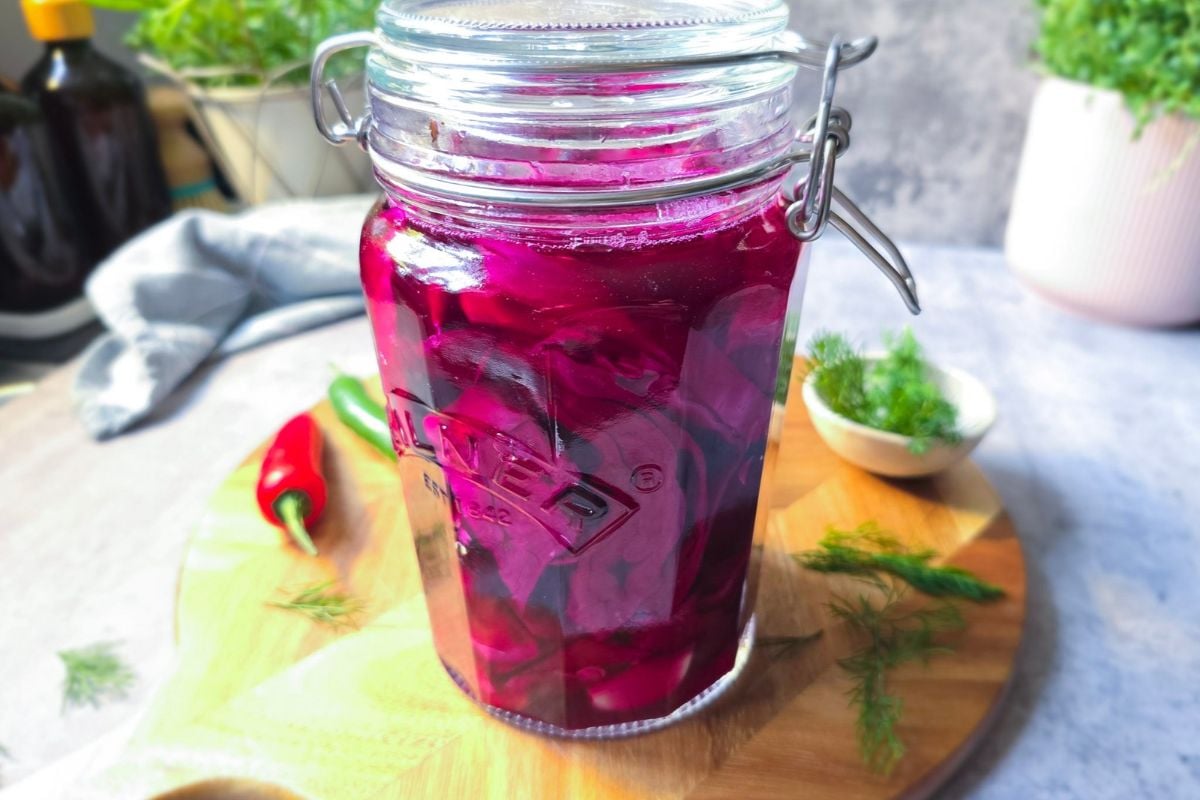
After 1-2 days (depending on how warm your kitchen is, you may notice the brine in the jar getting brightly pink and slightly cloudy.
From day 3, every day for the next week, open the lid to release the gases formed by the friendly bacteria and prevents the vegetables from getting mushy. I use a clean straw to gently blow into the jar to aerate the brine (you can also just press the cabbage back under the brine with a clean spoon if you don’t want to use a straw).
With a clean spoon taste the brine daily from day 3 onward to see how sour you like it. - The sauerkraut is ready for the fridge
After a week, your fermented red cabbage is ready! Give it a taste to make sure you like it, but if you want it more sour you can extend the fermentation for an extra day or two.
It should be slightly sour, acidic, a little fizzy and very tasty. It will keep in the fridge for at least 12 weeks. Don’t worry if there is a slight sediment settled at the bottom of the jar, it’s normal.
Pro Tips
- Make sure all the utensils and containers you use are clean.
- Remove the rubber seal from the lid so gas can escape during fermentation.
- When you burp the sauerkraut, make sure you push the vegetables gently, so the liquid is covering them fully.
Servings
This recipe uses around half a medium to large red cabbage and should be enough for at least 8 servings.
Nutritional goodness
The red cabbage, garlic, dill and chili count as four plants toward your 30 a week, which are wonderful news for your gut health. Not to mention all the good lactic acid bacteria (LAB)! In one week you can have a healthy nourishing condiment to add to any meals, you can even replace sides with it.
What to serve with pink sauerkraut
- This condiment will go great with anything from the grill, especially with these buttermilk chicken burgers.
- Sometimes if I’m in a hurry, I would just replace the vegetables from my lamb koftas recipe or add a few chunks next to roasted Chantenay carrots and end up with a gorgeous meal.
- Chop the sauerkraut and pickled garlic really finely and mix in your favorite dressing. Like this tahini yogurt dressing.
- I use the pink liquid as a vinegar replacement to make an amazing vinaigrette!
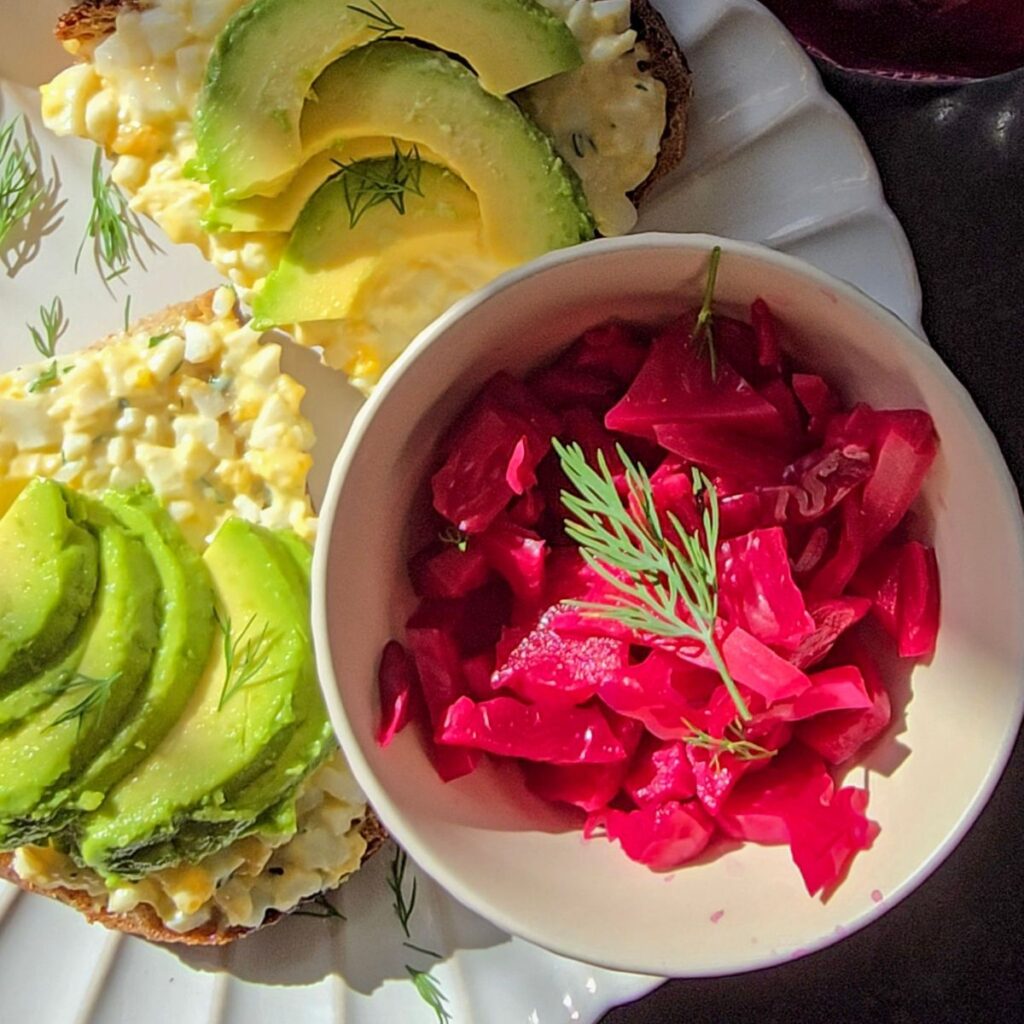
- I love pink sauerkraut with breakfast, next to scrambled eggs and smoked salmon, this way you get a daily dose of probiotics.
Variations
- Radishes: tuck a handful of sliced radishes into the gaps, or try my fermented radishes on their own.
- White cabbage: use half white and half red for a softer pink.
- Spice it up: add more chili, or a few peppercorns or caraway seeds.
Inviting my homemade pink sauerkraut into your diet is not just about flavor; it’s a step forward to embrace gut health and the beauty of nutrition-rich, colorful ingredients.
Pink sauerkraut FAQ
You may see fuzzy mold, slimy or mushy texture or have an off unpleasant smell. You can bin it.
Yes. All white cabbage gives you a classic sauerkraut. The ingredients and method works just as well.
After a few days the brine in the jar will get a little cloudy or milky because of the fermentation activity of the friendly bacteria. It will get clearer towards the end of the week and beautifully bright pink.
Yes, and it’s one of the best parts. Red cabbage contains natural pigments called anthocyanins, which change color with acidity. As the good bacteria turn the brine more sour, the purple turns to bright pink. If you make it with only white cabbage and it turns pink, that’s a different thing. It’s usually yeast growing on the surface, often because the cabbage wasn’t fully covered by the brine or the salt was uneven. If in doubt, throw it out.
It could get too sour or it could also get mushy and start developing mold.
It will wash away the goodness in the brine. There is no need to wash it, the brine itself will be so tasty and garlicky. In fact, I challenge you to have a sip, if you ever had a ginger shot that’s what it feels like. Tangy and it can boost your metabolism!
Not so much if you are after the live bacteria, but still good to add to your veggie intake. Most store bought sauerkraut will be pasteurized to extend its shelf life. So unless it says contains live bacteria, I would stick with my homemade pink sauerkraut.
Massaging is for shredded sauerkraut, where the salt has to pull water out of the cabbage to make its own brine. Here the cabbage is in chunks and you pour the salt brine over it, so there’s nothing to squeeze out. The pieces also keep nice and crunchy and you can chop them as small as you want after they are pickled.
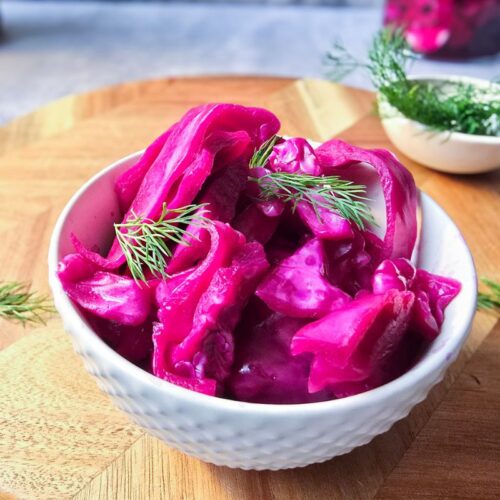
Pink sauerkraut (naturally fermented)

Made this? A quick star rating above helps other readers find it.
Equipment
- 1 jar approximately 750 ml to 1 l capacity with screw or rubber seal lid
- 1 sharp knife
- 1 funnel (optional)
- 1 scale
- 1 measuring jug (optional, reuse a clean water bottle with known capacity, for example 1 liter)
Ingredients
- 1 medium to large red cabbage
- 25 g salt
- 1 liter water
- 4 large garlic cloves (peeled, no blemishes, sliced)
- a handful dill
- 1 small chili sliced (optional)
Instructions
Prepare the cabbage
- Remove any wilted, dry or bruised outer leaves from the cabbage. You don't need to wash it.
Prepare the garlic, chili and dill
- Peel the garlic and set aside. Make sure your garlic is nice and plump and has no blemishes. You can cut the dark end if you want but it is not necessary.
- Remove any wilted dill strands. Give the dill a good rinse in cold water, shaking any excess water.
- Give the chili a rinse under cold running water. Chop as much chili as you would like, removing the seeds if you don't want it too hot.
Chop the cabbage
- Cut the red cabbage head in half, then quarters and remove the hardcore.
- Cut the cabbage in chunks of roughly 3 cm thickness.
Stuff the fermentation jar
- Start by laying a few garlic cloves, chili and a few strands of dill.
- Continue to stuff the jar with chunks of red cabbage. Don't force them too much, but pack them tight.
- Add the remaining garlic and dill as you fill the jar.
- Wedge a few red cabbage slices at the top to keep everything from rising up.
Prepare the brine
- Add 25 g of salt to one liter of cold water and swirl to dissolve.
- Pour the brine carefully over the veggies until they are fully covered. If you have a fermentation weight, you can add it here to keep things submerged.
Fermentation stage
- Make sure there is no space left in the jar at the top then close the lid loosely. Important: remove the rubber seal to allow gas to escape during fermentation!
- Set the jar aside at room temperature, but not too close to a hot or sunny spot.
- The liquid will become a bright pink and little cloudy from day 2 onward.
Burp the jar daily
- You need to "burp" the brine daily. Use a clean large diameter stainless steel straw if you have one, but can use any plastic drink straws.
- Blow gently to form bubbles in the brine careful not to spill the brine over. This will help with the lacto-fermentation by releasing the gases. You can use a clean spoon to push down instead of blowing through a straw.
- Taste the brine after day 3 and the sauerkraut after day 5, to make sure you are happy with the taste.
- It will take around 7 days to achieve a pleasant sourness and a slight fizz, depending on the temperature of your kitchen.
How to store
- After 7 days, if you are happy with the level of sourness, store the jar in the fridge.
- Every time you serve it, take some sauerkraut out of the brine with clean utensils and place the jar back in the fridge immediately.
Video





I’ve used this recipe multiple times, and it always turns out great! It’s so easy for such a great outcome, and it’s a really fun little project – burping the pickles over a few days 🙂 definitely recommend. So much better than store bought pickles which are not as gut friendly and have an overly sour/astringent taste, this is perfectly balanced
That’s exactly why I do this, love to see people looking after their gut health! thank you for taking the time to rate and review my recipe 😊 !